Picture this: You’re in a rush, about to leave for work, and your garage door opener decides not to cooperate. Frustrating, right? Resetting your garage door opener can often fix the problem, whether it’s a lost remote, a programming glitch, or a connectivity issue. In this guide, I’ll walk you through how to reset a garage door opener, step-by-step, in a way that’s easy to follow—even if you’ve never done it before.
1. Why Would You Need to Reset Your Garage Door Opener?
A garage door opener is one of those things you don’t think about until it stops working. But why would it need resetting in the first place?
Here are the most common reasons:
- Lost or Stolen Remotes: Resetting clears out old codes and ensures your home remains secure.
- Power Surges or Outages: Sometimes, electrical disruptions can scramble the programming.
- Adding New Remotes: You might need to reset the system to pair new devices.
- Wi-Fi Issues: If you’re using a smart opener, resetting may be required to reconnect it to your network.
Understanding these reasons helps you troubleshoot effectively and avoid unnecessary stress.
2. Identifying the Problem: Does Your Opener Really Need a Reset?
Before jumping into a reset, make sure it’s actually needed. Sometimes, what seems like a malfunction can be fixed with simple troubleshooting.
Signs Your Opener Needs Resetting
- The remote isn’t working, even with fresh batteries.
- The garage door opener’s light blinks, but the door doesn’t budge.
- Your smart garage door opener has lost its Wi-Fi connection.
- The keypad or remote isn’t responding at all.
If any of these sound familiar, resetting your garage door opener could be the solution.
3. Tools You’ll Need Before Starting
Before resetting, gather these basic tools:
- A step ladder (to reach the motor unit).
- The manual for your specific garage door opener (optional but helpful).
- A flashlight for better visibility.
4. How to Reset Garage Door Opener: A Step-by-Step Guide
Let’s get down to the process. Resetting a garage door opener isn’t as complicated as it sounds, and it varies slightly depending on the brand and model. Here’s the general approach:
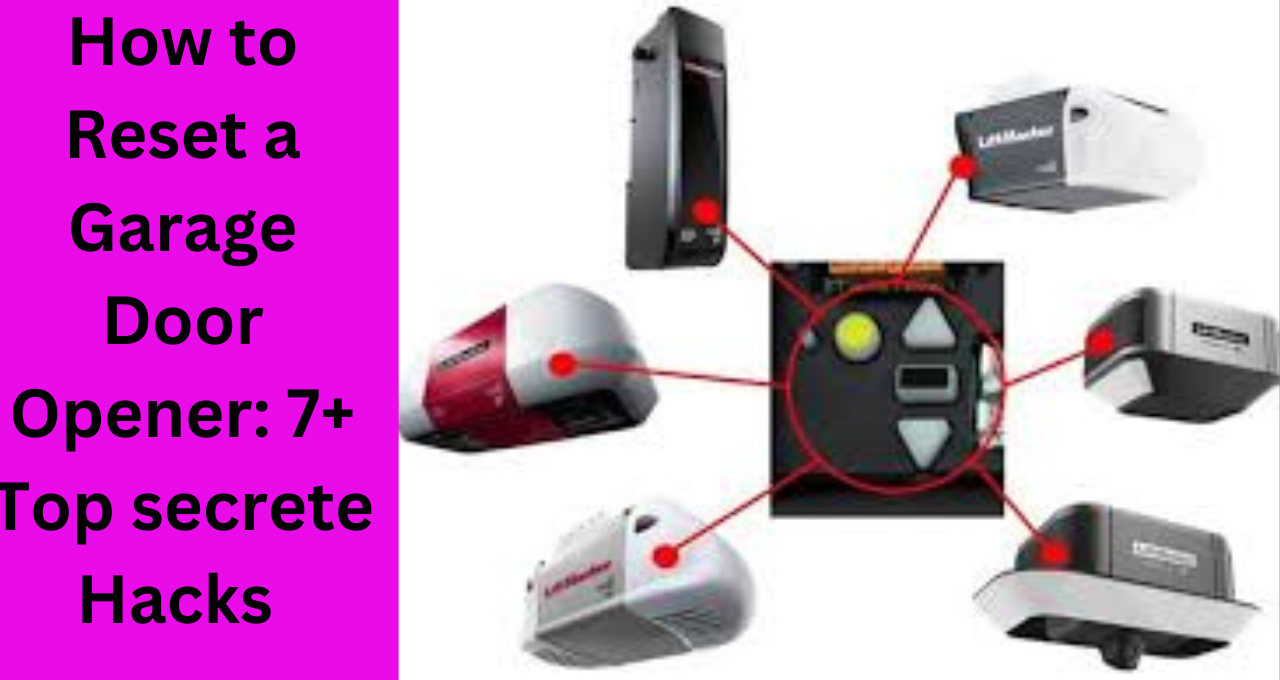
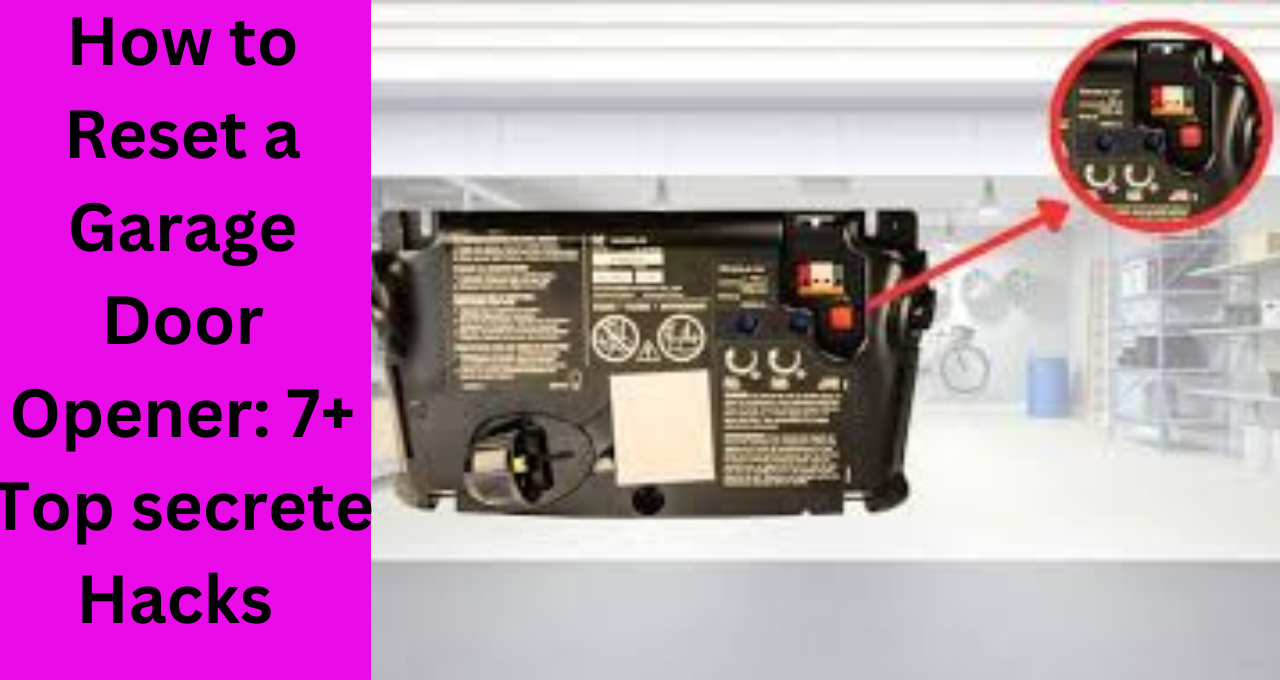
Step 1: Locate the Reset or “Learn” Button
The reset button is usually found on the motor unit, often near the antenna or under a light cover. It’s typically labeled as “Learn” or “Reset.”
Step 2: Clear the Memory
- Press and hold the reset/learn button for 15–35 seconds.
- You’ll notice the indicator light on the motor blinking or turning off, which means the system has been reset.
Step 3: Reprogram the Remote or Keypad
- Press the learn button again.
- On your remote, press the button you want to program.
- Wait for the motor’s light to blink, confirming the pairing.
Step 4: Test the System
Try opening and closing the garage door with the remote to ensure everything works as expected.
5. How to Reset Smart Garage Door Openers
For Wi-Fi-enabled openers, the process involves a few extra steps:
- Factory Reset: Hold the reset button for 30 seconds or until the unit’s light blinks rapidly.
- Reconfigure Wi-Fi Settings: Use the manufacturer’s app to reconnect the opener to your home network.
- Pair Devices Again: Reprogram remotes and keypads after the reset.
6. Resetting Specific Brands of Garage Door Openers
Different brands may have slight variations in their reset processes. Here are some examples:
LiftMaster and Chamberlain
- Locate the “Learn” button on the motor unit.
- Hold it down for 6–10 seconds to erase codes.
- Reprogram remotes and keypads as needed.
Genie Garage Door Opener
- Press and hold the “Learn” button until the indicator light goes off.
- Follow the reprogramming steps to reconnect remotes.
Craftsman Garage Door Opener
- Similar to LiftMaster, use the “Learn” button to reset and erase stored codes.
7. Troubleshooting Tips: What If Resetting Doesn’t Work?
Sometimes, even after resetting, the garage door opener still doesn’t function correctly. Here’s what you can check:
- Inspect the Sensors: Misaligned or blocked sensors can prevent the door from operating.
- Check the Power Source: Ensure the motor unit is plugged in and receiving power.
- Examine the Door Tracks: Look for debris or obstructions.
- Replace Batteries: Weak remote batteries are a common culprit.
8. Maintaining Your Garage Door Opener to Avoid Resets
Regular maintenance can save you from frequent resets and keep your garage door running smoothly:
- Lubricate Moving Parts: Tracks, rollers, and hinges should be lubricated regularly.
- Clean Safety Sensors: Dust or dirt can interfere with their function.
- Test the Balance: An imbalanced door strains the opener and may cause malfunctions.
9. When Should You Call a Professional?
If you’ve tried resetting and troubleshooting without success, it might be time to call in the experts. A professional can help with:
- Replacing faulty circuit boards.
- Repairing damaged motors.
- Diagnosing deeper electrical issues.
10. Final Thoughts: Mastering the Reset Process
Learning how to reset a garage door opener is a practical skill every homeowner should have. Whether you’re dealing with a lost remote, a malfunctioning motor, or connectivity issues, resetting can often solve the problem without the need for costly repairs.
By following this guide and keeping up with regular maintenance, you’ll ensure your garage door opener works seamlessly for years to come. And remember, when in doubt, don’t hesitate to consult a professional for assistance.
With this knowledge in hand, you’re now equipped to tackle any garage door opener reset confidently. Say goodbye to frustration and hello to a smoothly functioning garage door system!

hello friends
my name is Sumit kumar. I am the owner of this website and I share only garage door and lift master information and only informational posts on my website. And I have written this post myself and have given you only a good guide and information.
2 thoughts on “How to Reset a Garage Door Opener: 7+ Top secrete Hacks In 2025”