LiftMaster is a trusted name in garage door openers, and its remotes are designed to make your life more convenient. But for first-time users or even experienced homeowners who’ve purchased a new remote, programming a LiftMaster remote can seem like a daunting task. Don’t worry! This article provides a simple, step-by-step guide to help you program your LiftMaster remote effortlessly.
Whether you’re programming a new remote, replacing a lost one, or setting up multiple remotes, this guide will ensure you’re back in control of your garage door in no time. Let’s dive in!
How To Program Liftmaster Remote
What You’ll Need to Program a LiftMaster Remote
Before starting, make sure you have the following items:
- Your LiftMaster remote control (compatible with your garage door opener)
- Access to the garage door opener unit (usually located on the ceiling of your garage)
- A ladder (to reach the opener’s control panel)
- The garage door opener manual (optional but helpful for troubleshooting)
Understanding How LiftMaster Remote Programming Works
how to program a garage door remote liftmaster
LiftMaster remotes operate using radio frequencies that communicate with your garage door opener. To ensure security, modern LiftMaster systems use rolling code technology. This means the code between the remote and opener changes every time the remote is used, preventing unauthorized access.
When you program the remote, you’re essentially syncing the remote’s signal with your opener’s receiver.
Types of LiftMaster Garage Door Openers
how to program liftmaster garage door remote
LiftMaster offers several types of openers, and the programming process may vary slightly depending on your model. Here are the most common types:
- Chain Drive Openers – Reliable and affordable.
- Belt Drive Openers – Quiet and ideal for attached garages.
- Screw Drive Openers – Low maintenance and durable.
- Wall-Mounted Openers – Space-saving and modern.
No matter which type you have, this guide will cover the basics to program your remote successfully.
How To Program A Garage Door Remote Liftmaster
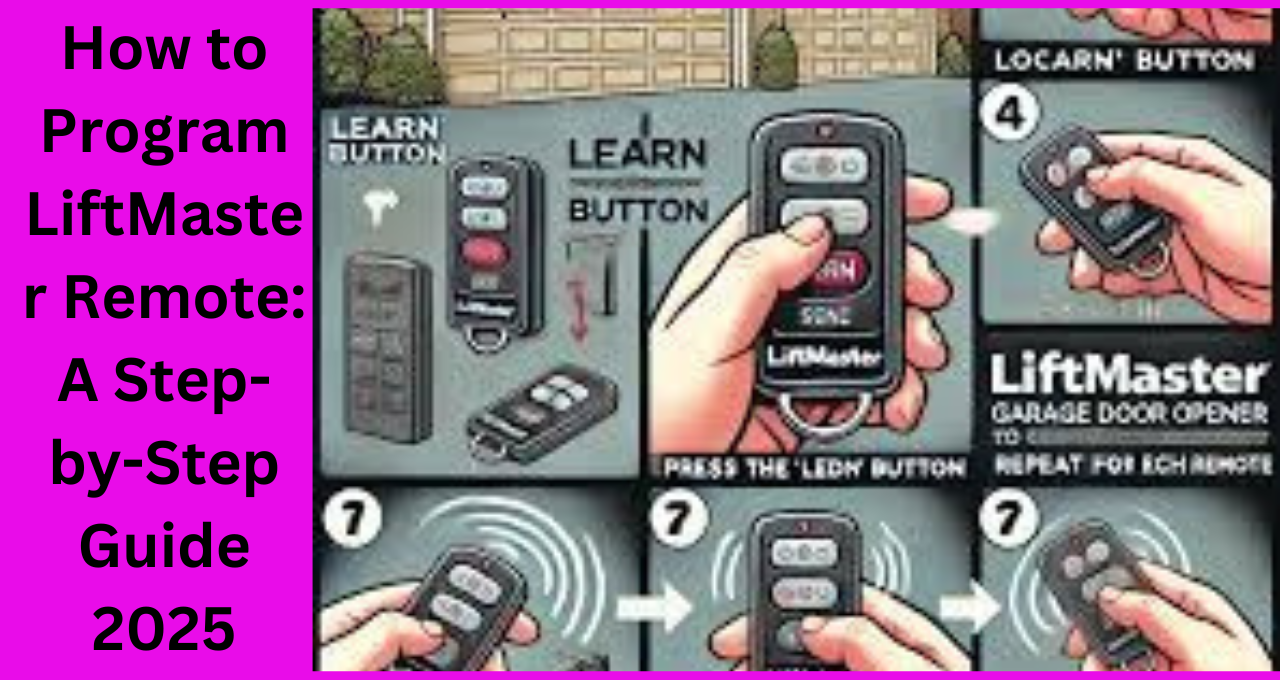
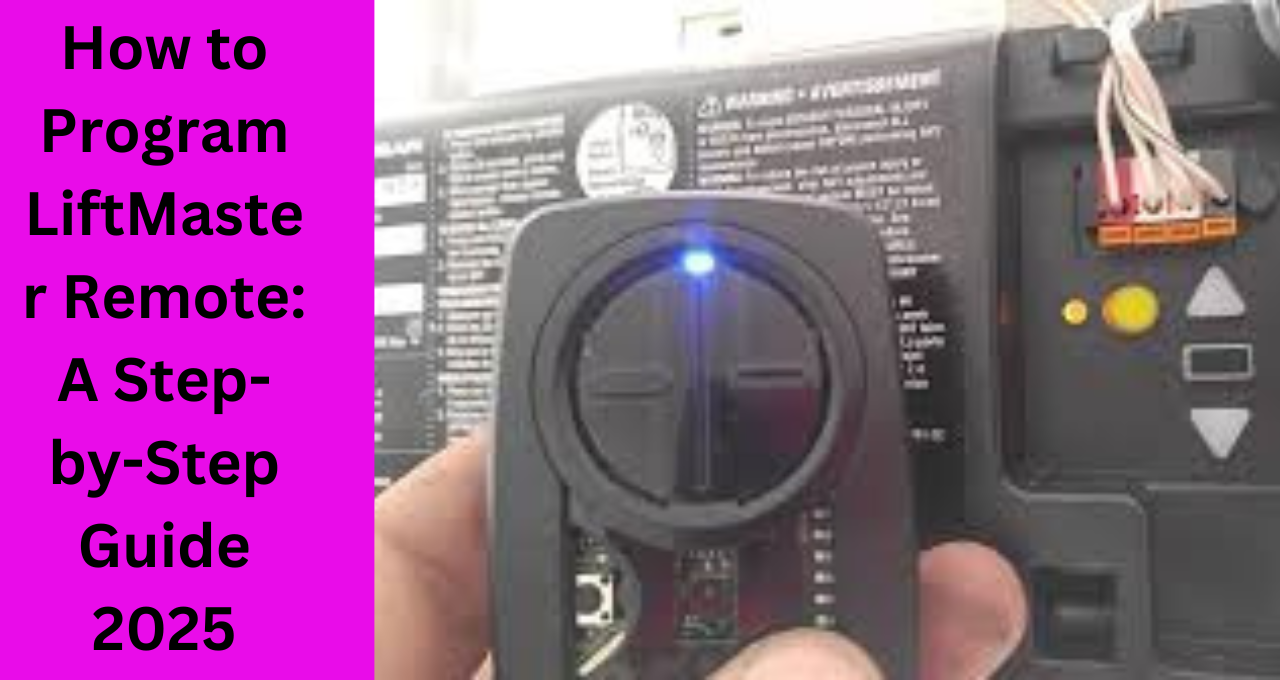
Step 1: Locate the “Learn” Button on the Opener
The “Learn” button is the key to programming your LiftMaster remote. Here’s how to find it:
- Open the Garage Door Opener Cover – Use a ladder to access the opener’s control panel.
- Look for a Colored Button – The Learn button is usually yellow, red, green, or purple, depending on the model. It may also be labeled as “Learn” or “Learn Code.”
- Check the Manual if Needed – If you’re having trouble locating the button, refer to your garage door opener’s manual.
Step 2: Prepare the Remote for Programming
Before you press any buttons, ensure the remote is ready:
- Install Fresh Batteries – Weak batteries can interfere with the signal. Replace them if necessary.
- Clear the Remote’s Memory (Optional) – If the remote has been used with another opener, you might need to reset it. Check the manual for instructions on how to do this.
Step 3: Sync the Remote with the Garage Door Opener
Now, it’s time to pair your LiftMaster remote with the garage door opener. Follow these steps carefully:
- Press and Release the Learn Button – On the opener’s control panel, press the Learn button once. The indicator light next to it will begin to blink, signaling it’s ready to receive a code.
- Press the Desired Button on the Remote – Within 30 seconds of pressing the Learn button, press and hold the button on your remote that you want to program.
- Wait for the Confirmation – The opener’s light will flash, or you may hear a click, indicating the remote has been successfully programmed.
Step 4: Test the Remote
After programming, it’s essential to test your remote to ensure it’s working correctly.
- Stand Outside the Garage – Move a few feet away from the garage door.
- Press the Remote Button – The garage door should open or close smoothly.
- Check Multiple Times – Test the remote a few more times to confirm consistency.
How to Program Multiple LiftMaster Remotes
Need to program more than one remote? No problem!
- Repeat the Steps for Each Remote – Follow the same process for each additional remote.
- Use Different Buttons – If your remote has multiple buttons, you can assign each button to a different garage door.
Troubleshooting Common Issues
Sometimes, programming doesn’t go as planned. Here are some common issues and how to fix them:
The Remote Isn’t Working After Programming
- Solution: Check the batteries, ensure the opener is powered on, and repeat the programming process.
The Learn Button Doesn’t Respond
- Solution: The opener’s memory might be full. Press and hold the Learn button for 6–10 seconds to clear all programmed remotes, then try again.
The Opener Light Flashes but the Door Doesn’t Move
- Solution: Make sure the door’s safety sensors are aligned and unobstructed.
Why Choose LiftMaster Remotes?
LiftMaster remotes are known for their reliability, advanced technology, and ease of use. With features like rolling code security, multi-button remotes, and universal compatibility, they offer unparalleled convenience and safety for homeowners.
Maintenance Tips for Your LiftMaster Remote
To keep your remote functioning optimally, follow these tips:
- Replace Batteries Regularly – Weak batteries can cause delays or failures.
- Keep It Clean – Dust and debris can interfere with the buttons.
- Store in a Safe Place – Avoid exposing the remote to extreme temperatures or moisture.
FAQs About Programming LiftMaster Remotes
1. Can I program my LiftMaster remote without a Learn button?
No, the Learn button is essential for programming most LiftMaster remotes. If your opener lacks a Learn button, it might be an older model, and you may need a universal remote or additional accessories.
2. How many remotes can I program to one LiftMaster opener?
Most LiftMaster openers can support up to five remotes and one keypad.
3. Can I erase a single remote from the system?
No, clearing the opener’s memory will remove all programmed remotes. You’ll need to reprogram the remaining ones.
Conclusion
Programming a LiftMaster remote doesn’t have to be complicated. With the right steps and a little patience, you can easily sync your remote to your garage door opener and enjoy seamless access to your garage. Whether you’re programming a single remote or multiple ones, this guide ensures a hassle-free experience.
Remember to maintain your remote and opener for long-lasting performance, and don’t hesitate to troubleshoot if you encounter issues. Now, it’s time to grab your LiftMaster remote and start programming like a pro!
For more expert tips and guides on garage door openers, stay tuned to our blog.

hello friends
my name is Sumit kumar. I am the owner of this website and I share only garage door and lift master information and only informational posts on my website. And I have written this post myself and have given you only a good guide and information.


I’m really inspired with your writing talents and also with the format in your weblog.
Is that this a paid subject or did you modify it your self?
Either way stay up the excellent high quality writing,
it is uncommon to look a nice weblog like this one these days.
Stan Store alternatives!
I am extremely impressed with your writing abilities and also with the format on your blog.
Is this a paid subject matter or did you customize it your self?
Either way keep up the nice high quality writing, it’s rare to see
a nice blog like this one today. HeyGen!