If you’ve recently bought a LiftMaster garage door opener or need to reprogram your garage door remote, you’re in the right place. Whether you’re replacing an old remote, syncing a new one, or simply reconfiguring your current setup, this article will walk you through everything you need to know to program a LiftMaster garage door remote—the right way.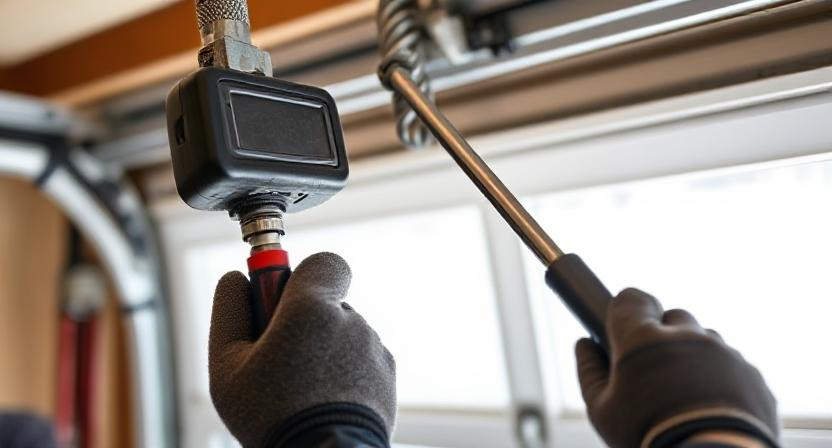
✅ Why Program a Garage Door Remote?
Programming a garage door remote might seem like a small task, but it plays a crucial role in home security and convenience. Whether you’ve just moved in, replaced the opener, or lost a remote, syncing the remote properly ensures you control who enters and exits your home.
LiftMaster, a trusted brand in the U.S., makes this process straightforward—but you’ll still need the right instructions to get it done correctly
🔍 What You Need Before You Start
Before diving into the programming process, make sure you have the following items ready:
-
A LiftMaster garage door opener (installed and powered)
-
Your LiftMaster remote control
-
A ladder (to access the opener unit on the ceiling)
-
Basic lighting in the garage
-
Optional: The user manual for your specific LiftMaster model
Knowing your model number will help you identify the correct programming method, as newer LiftMaster models may differ slightly from older ones.
🧠 Understanding How LiftMaster Remotes Work
LiftMaster uses rolling code technology in most of its remotes. This means each time you press the remote, it sends a unique code to the opener—making it extremely secure. But to make that magic happen, you first need to sync the remote with the opener’s logic board.
Most LiftMaster units use a Learn Button to initiate this process.
🔵 Locate the “Learn” Button on Your Opener
Here’s where the magic begins.
-
Climb your ladder and look for the garage door opener unit mounted to the ceiling.
-
On the back or side of the opener, you’ll see a small button labeled “Learn”. It might be behind a light cover.
-
Depending on your model, this button may be yellow, red, orange, green, or purple.
Tip: The color of the Learn button often corresponds to the type of remote your unit is compatible with.
📡 How to Program a LiftMaster Garage Door Remote – Step-by-Step
Now that you’ve located the Learn button, follow these simple steps to program your remote:
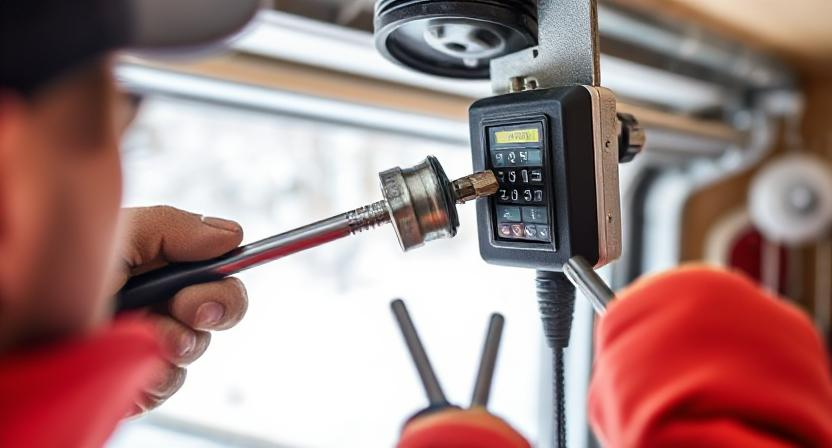
Step 1: Press the Learn Button
-
Press the Learn button once.
-
A small LED light next to the button should start blinking.
-
This indicates the opener is in programming mode.
Step 2: Press the Remote Button
-
Within 30 seconds of pressing the Learn button, press the button on your remote that you want to use to open the garage.
-
Hold it down for 2-3 seconds and then release.
-
The garage door opener’s light will flash or click, indicating a successful sync.
Step 3: Test Your Remote
-
Press the programmed button on your remote.
-
If the garage door opens or closes, you’ve successfully programmed it.
Important: If you wait longer than 30 seconds after pressing the Learn button, the opener will exit programming mode. You’ll need to start again.
🔄 Need to Reprogram or Erase Old Remotes?
If you’ve lost a remote or just moved into a new home, it’s a good idea to erase all old codes and start fresh.
How to Erase All Codes from a LiftMaster Opener
-
Hold down the Learn button for about 6-10 seconds.
-
When the LED light turns off, all stored remote codes have been erased.
-
Reprogram your new remote using the steps above.
This is especially useful when you want to ensure no one else can access your garage.
🧰 Troubleshooting Tips if Programming Doesn’t Work
Sometimes things don’t go as planned. Here are a few common problems and solutions:
-
Remote battery is dead → Try replacing the battery.
-
Too far from opener → Get closer to the unit when programming.
-
Opener’s memory is full → You may need to erase all codes and start fresh.
-
Wrong remote type → Make sure the remote is compatible with your opener model.
-
Button timing was off → Repeat the steps and press the remote button more quickly after pressing Learn.
🔐 How to Program a LiftMaster Keypad (Bonus)
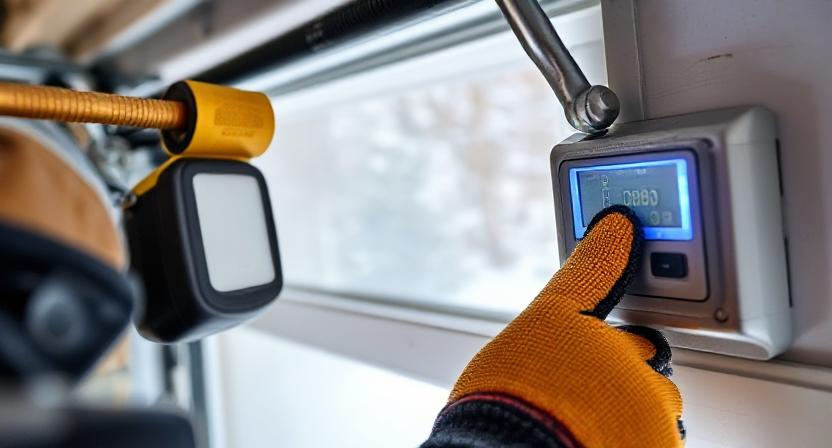
Got a wireless keypad? Here’s how to program it with your garage door opener:
-
Press the Learn button on the opener.
-
Within 30 seconds, enter a 4-digit PIN of your choice on the keypad.
-
Press and hold the Enter button.
-
When the opener light flashes, your keypad is programmed.
You can now open your garage using your custom PIN—no remote needed!
🔧 LiftMaster MyQ: Smartphone Control
Many newer LiftMaster models support MyQ technology, which lets you control your garage from your phone.
To Set Up MyQ:
-
Download the MyQ app from the App Store or Google Play.
-
Follow the in-app instructions to pair your garage door opener.
-
Once synced, you can open, close, and monitor your garage remotely.
Perfect for busy homeowners who want real-time control and alerts.
🛑 Safety First: Keep Your Family Protected
A properly programmed remote isn’t just about convenience—it’s about safety too.
-
Test the garage door’s auto-reverse function monthly.
-
Keep remotes out of reach of children.
-
Don’t leave remotes in parked cars where thieves can access them.
-
Always reprogram when moving into a new home.
🔄 When Should You Reprogram Your Garage Door Remote?
Here are a few scenarios where reprogramming your LiftMaster remote is a must:
-
You’ve lost a remote
-
You’ve moved into a new home
-
You’re adding a new remote or keypad
-
You’ve noticed unusual garage door activity
If any of these apply to you, take a few minutes to go through the programming steps—it could save you a lot of trouble.
📝 Final Thoughts: Take Control of Your Garage Access
Now you know how to program a garage door remote LiftMaster like a pro. Whether you’re securing a new home, replacing a lost remote, or just syncing a new one, the steps are quick, simple, and effective.
By following this guide, you’re not only making your life more convenient, but also adding a layer of safety and control to your home.
So go ahead—take charge of your garage door system and enjoy the peace of mind that comes with a fully functional and secure remote setup.

hello friends
my name is Sumit kumar. I am the owner of this website and I share only garage door and lift master information and only informational posts on my website. And I have written this post myself and have given you only a good guide and information.
1 thought on “How to Program a Garage Door Remote LiftMaster – (2025) Guide for Homeowners”