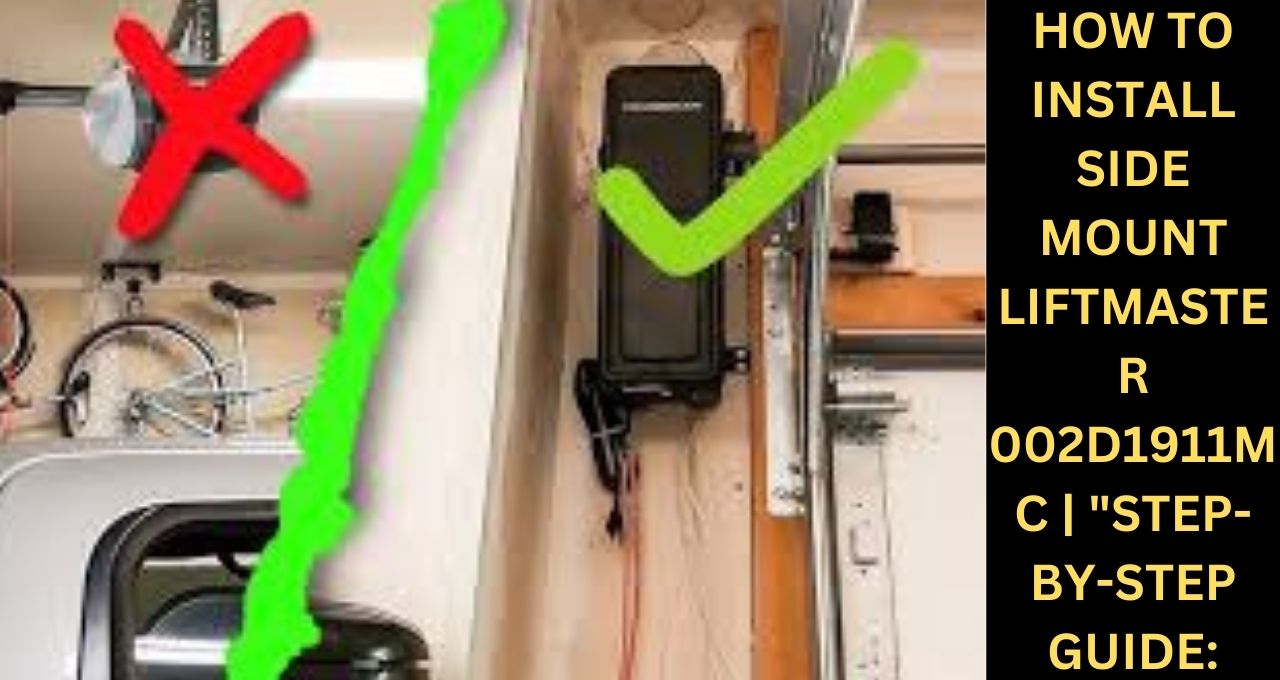
How to Install Side Mount LiftMaster 002D1911MC is a side-mount garage door opener that offers smooth, quiet, and space-saving operation for your garage. Unlike traditional openers that mount on the ceiling, the LiftMaster 002D1911MC is installed on the side of the door, making it ideal for garages with limited overhead space. In this guide, we’ll walk you through the steps for a successful installation of this side-mount unit, covering tools needed, preparation, and detailed installation instructions. By following this comprehensive guide, you’ll have your LiftMaster 002D1911MC installed correctly and running efficiently in no time.
Why Choose a Side Mount Garage Door Opener?
Before we dive into the installation process, it’s important to understand why the LiftMaster 002D1911MC and other side mount openers are gaining popularity. Here are a few reasons why:
- Maximizing overhead space: Side-mount openers are great for garages with low ceilings or areas where overhead space is used for storage.
- Quiet operation: This design eliminates vibrations that would otherwise occur with a ceiling-mounted system, making it much quieter.
- Sleek and modern design: The compact size and side positioning give your garage a clean, organized look.
Now that we understand the benefits, let’s move on to the tools you’ll need for the installation.
Tools and Materials Required for Installation
To successfully install the LiftMaster 002D1911MC, ensure that you have the following tools and materials handy:
- Power drill with a screwdriver bit
- Adjustable wrench
- Tape measure
- Level
- Ladder
- Socket wrench
- Wire strippers
- Anchors and screws
- Mounting brackets (provided with the opener)
- Garage door lubricant
- Safety glasses
Having these tools at the ready will save time and help you avoid unnecessary trips to the hardware store during installation.
Preparing for Installation
Before beginning the installation process, it’s important to make some necessary preparations. Follow these steps to ensure a smooth setup:
1. Check Garage Door Compatibility
The LiftMaster 002D1911MC works with most sectional garage doors. However, it’s essential to make sure your door is compatible before starting the installation. Ensure that the door tracks are clear and the torsion springs are functioning correctly. If you are unsure, consult a garage door technician for a quick inspection.
2. Disconnect Existing Garage Door Opener
If you are replacing an old garage door opener, make sure to disconnect it first. Unplug the unit from the electrical outlet, and if hardwired, turn off the power from the breaker.
3. Check for Power Outlet Availability
The side-mount garage door opener needs a power outlet nearby. Ensure that there is an available outlet within 6 feet of the installation site. If not, you may need to have an electrician install one.
4. Clear the Installation Area
Clear the space around the garage door track and torsion spring. This will make it easier to work and will help ensure safety during the installation.
Step-by-Step Installation Guide
Once you’ve completed the preparations, you’re ready to install the LiftMaster 002D1911MC. Follow these steps carefully for a successful installation:
1. Attach the Mounting Bracket
- Begin by attaching the mounting bracket to the wall next to the garage door. The bracket should be placed about 1-2 feet above the garage floor.
- Use a level to ensure the bracket is perfectly horizontal. Secure it to the wall with the provided screws and anchors. If mounting on concrete, use masonry anchors for a secure fit.
2. Position the LiftMaster 002D1911MC
- Place the LiftMaster 002D1911MC on the mounting bracket. Make sure the motor is facing the garage door and the shaft aligns with the door’s torsion bar.
- Secure the unit to the bracket using the provided bolts and lock washers.
3. Connect the Opener to the Torsion Bar
- Slide the drive hub of the opener onto the torsion bar. Tighten the set screws on the hub to hold it securely in place.
- Ensure the torsion bar rotates freely and is aligned properly.
4. Install the Cable Tension Monitor
- The cable tension monitor is an essential safety device that prevents the door from operating if the cables become slack.
- Mount the monitor on the wall near the bottom of the garage door track. Use the included fasteners to secure it.
- Run the cable from the tension monitor to the side-mount opener, connecting it to the corresponding input.
5. Attach the Emergency Release Handle
- In case of power failure, you’ll need a way to manually open the garage door. Install the emergency release handle by attaching the handle to the provided cable.
- Run the cable through the provided bracket and secure it in a place that is easily accessible from the floor.
6. Run the Safety Sensors
- The safety sensors are crucial for preventing accidents, as they stop the door from closing if something is in its path.
- Mount the sensors on each side of the garage door, about 6 inches from the ground. Ensure that they are aligned perfectly to work properly. The sensors should have a clear line of sight to each other.
- Connect the wiring from the sensors to the side-mount opener according to the instruction manual.
7. Wiring and Power Connections
- Use wire strippers to prepare the wires, then connect them to the terminal block on the opener.
- Make sure the wiring is neat and organized to avoid any interference with the garage door’s operation.
- Plug the opener into the power outlet and ensure the power is on.
8. Program the Remote Control
- Use the Learn button on the side of the LiftMaster 002D1911MC to program the remote control. Press and hold the button until the indicator light turns on.
- Press the button on your remote control to complete the pairing process. Test the remote by opening and closing the garage door.
9. Adjust Force and Travel Limits
- Adjust the force and travel limits of the door to ensure smooth operation. This can be done using the control panel on the side-mount opener.
- Follow the instructions in the manual to set the limits for both the upward and downward movement of the garage door.
10. Test the Safety Features
- Finally, test the safety features of the garage door opener, including the sensors and the emergency release.
- Place an object in the path of the garage door to ensure that the safety sensors stop the door from closing. Also, test the emergency release to make sure you can manually operate the door.
Maintenance Tips for Long-Lasting Performance
Once your LiftMaster 002D1911MC is installed, regular maintenance will ensure it continues to operate smoothly for years to come. Here are some tips to keep your opener in top condition:
- Lubricate the moving parts: Periodically apply garage door lubricant to the torsion springs, rollers, and tracks to reduce friction.
- Inspect the sensors: Make sure the safety sensors are clean and aligned. Dust and debris can interfere with their operation.
- Check the tension monitor: Ensure that the cable tension monitor is functioning correctly and that the cables are taut.
- Tighten loose bolts: Over time, vibrations can cause bolts to loosen. Periodically check all fasteners and tighten them if necessary.
Conclusion
Installing a LiftMaster 002D1911MC side-mount garage door opener is a practical solution for homeowners seeking to maximize space and enjoy quieter operation. By following this detailed step-by-step guide, you can confidently install the opener on your own, ensuring both functionality and safety. Regular maintenance will ensure long-lasting performance, giving you peace of mind. Enjoy the convenience and efficiency of your new side-mount garage door opener, knowing that it was installed correctly and with care.

hello friends
my name is Sumit kumar. I am the owner of this website and I share only garage door and lift master information and only informational posts on my website. And I have written this post myself and have given you only a good guide and information.
Very good information I like it
I would also like to express that most individuals that find themselves without having health insurance are typically students, self-employed and those that are without a job. More than half with the uninsured are under the age of Thirty five. They do not experience they are needing health insurance because they’re young and also healthy. Its income is usually spent on property, food, and entertainment. Most people that do go to work either complete or part time are not supplied insurance by their jobs so they head out without owing to the rising expense of health insurance in the usa. Thanks for the thoughts you discuss through this blog.
It is the best time to make some plans for the long run and it is time to be happy. I have learn this put up and if I may I want to recommend you few interesting issues or advice. Perhaps you could write subsequent articles relating to this article. I want to learn even more things approximately it!
I know this if off topic but I’m looking into starting my own weblog and was wondering what all is required to get set up? I’m assuming having a blog like yours would cost a pretty penny? I’m not very internet savvy so I’m not 100 positive. Any suggestions or advice would be greatly appreciated. Many thanks
After study a number of of the blog posts in your web site now, and I truly like your method of blogging. I bookmarked it to my bookmark web site record and will probably be checking again soon. Pls take a look at my web site as nicely and let me know what you think.