If you search How to Change Battery in Garage Door Opener that Is your garage door opener acting sluggish or not responding? A dead or weak battery might be the culprit! Changing the battery in your garage door opener is a simple DIY task that can save you time and money. In this comprehensive guide, we’ll walk you through the entire process, ensuring your garage door operates smoothly again.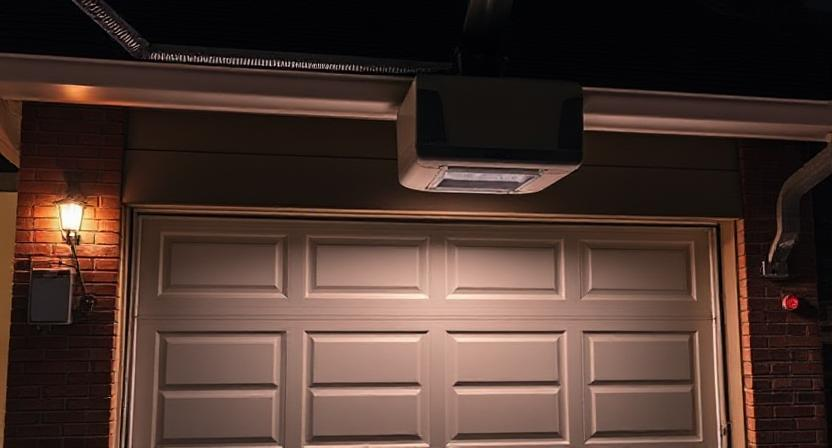
How to Change Battery in Garage Door Opener 2025 – Step-by-Step Guide
Why Should You Replace Your Garage Door Opener Battery?
Before diving into the steps, let’s understand why battery replacement is crucial:
✅ Restores Smooth Operation – A fresh battery ensures quick and reliable door movement.
✅ Enhances Security – Weak batteries can cause remote malfunctions, leaving your garage vulnerable.
✅ Prevents Unexpected Failures – Regular replacement avoids sudden door opener failures.
✅ Extends Opener Lifespan – Proper maintenance keeps the opener functioning longer.
Tools You’ll Need
Before starting, gather these basic tools:
- Replacement battery (Check your opener’s manual for the correct type)
- Screwdriver (Phillips or flathead, depending on your model)
- Cleaning cloth (Optional, for maintenance)
- Safety gloves (Optional, for protection)
Step-by-Step Guide to Changing Your Garage Door Opener Battery

Step 1: Identify Your Garage Door Opener Model
Different brands (Chamberlain, LiftMaster, Genie, etc.) have varying battery compartments. Check your opener’s manual or look for a label on the unit to confirm the battery type (usually 9V, AA, or lithium batteries).
Step 2: Locate the Battery Compartment
- For Remote Controls: The battery slot is usually on the back. Slide or pry open the cover.
- For Wall-Mounted Keypads: Remove the faceplate to access the battery.
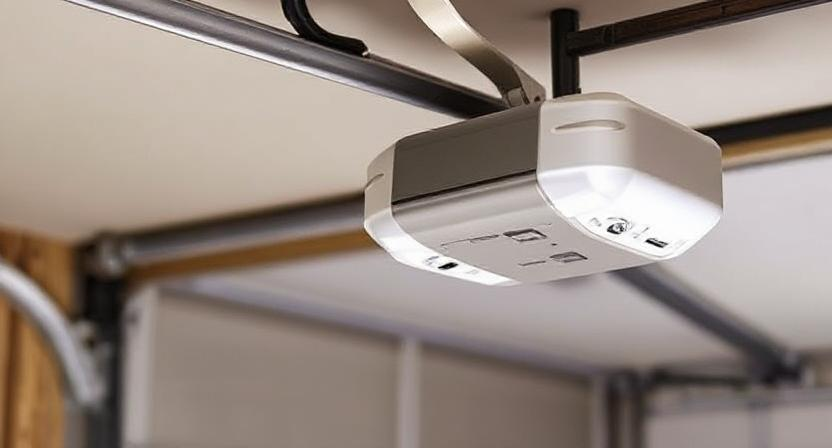
- For Motor Units (Backup Batteries): Some openers have a backup battery inside the motor housing—check near the control panel.
Step 3: Remove the Old Battery
- Carefully take out the old battery, noting its orientation (+/-).
- If the battery is corroded, wear gloves and clean the compartment with a dry cloth or a small amount of vinegar on a cotton swab.
Step 4: Insert the New Battery
- Place the new battery in the same position as the old one, matching the polarity.
- Ensure a snug fit—loose connections can cause malfunctions.
Step 5: Test the Garage Door Opener
- Press the remote or keypad button to check if the door responds.
- If it doesn’t work, recheck the battery placement or consult the manual for troubleshooting.
Step 6: Reassemble and Secure
- Close the battery compartment tightly.
- For wall-mounted keypads, reattach the faceplate securely.
Pro Tips for Longer Battery Life
🔋 Use High-Quality Batteries – Alkaline or lithium batteries last longer.
🔋 Store Remotes Properly – Avoid extreme temperatures to preserve battery life.
🔋 Regularly Check Battery Levels – Replace batteries every 6-12 months for optimal performance.
Common Garage Door Opener Battery Issues & Fixes
❌ Remote Not Working After Battery Change?
- Check if the battery is inserted correctly.
- Reprogram the remote if needed.
❌ Fast Battery Drain?
- Avoid leaving the remote in hot/cold environments.
- Replace with a higher-capacity battery.
❌ Corrosion in Battery Compartment?
- Clean with a vinegar-water solution and dry thoroughly.
When to Call a Professional
If your garage door still doesn’t work after a battery replacement, there may be other issues like:
- Faulty wiring
- Motor unit failure
- Sensor misalignment
In such cases, contact a garage door technician for expert assistance.
Frequently Asked Questions (FAQs)
1. How often should I replace my garage door opener battery?
Most batteries last 6-12 months, but it depends on usage. High-quality lithium batteries may last longer.
2. What type of battery does my garage door opener use?
Common types:
- Remotes: 9V, AA, AAA, or coin-cell batteries
- Keypads: AA or AAA
- Backup systems: 12V sealed lead-acid batteries
Check your manual or opener label for exact specifications.
3. Why does my garage door remote drain batteries quickly?
Possible reasons:
- Old/low-quality batteries
- Corrosion in the compartment
- Faulty remote buttons (stuck or damaged)
- Extreme temperature exposure
4. Can I use rechargeable batteries in my garage door opener?
Yes, but they may have lower voltage and shorter lifespans than alkaline/lithium batteries.
5. How do I know if my garage door opener battery is dying?
Signs include:
- Slow response time
- Reduced range
- Intermittent operation
- LED light dimming on the remote
6. My garage door opener has a backup battery—how do I replace it?
- Unplug the opener.
- Locate the backup battery compartment (usually inside the motor unit).
- Remove the old battery and insert the new one (typically a 12V sealed lead-acid battery).
- Reconnect power and test.
7. What should I do if my remote still doesn’t work after a battery change?
- Reprogram the remote (check the manual).
- Check for interference (LED lights, Wi-Fi routers, etc.).
How to change battery in garage door opener keypad
- Inspect the circuit board for damage.
- If all else fails, replace the remote.
Final Thoughts
Changing the battery in your garage door opener is a quick and easy fix that ensures smooth, reliable operation. By following this guide, you can save money on service calls and keep your garage secure.
Need more garage door tips? Explore our blog for expert maintenance guides!

hello friends
my name is Sumit kumar. I am the owner of this website and I share only garage door and lift master information and only informational posts on my website. And I have written this post myself and have given you only a good guide and information.