Learning how to align garage door sensors is the simplest and most satisfying DIY fix you can do for your home. That moment of panic when your garage door starts to close and then suddenly reverses is all too familiar. You think it’s broken, and you’re already dreading a costly repair bill. But what if the solution is so easy you don’t even need a toolbox? In over 80% of cases, a door that won’t close is just suffering from a simple misalignment. This 2025 guide will walk you through the foolproof, safe steps to get your door working perfectly again, saving you time, money, and a major headache.
Why Your Garage Door Sensors Are So Important
Those little plastic boxes near the floor aren’t just for show. They are a critical safety feature required by law since 1993.
They create an invisible beam across the doorway. If anything—a toy, a leaf, or a person—breaks that beam while the door is closing, the door will automatically reverse to prevent injury or damage. When they are out of alignment, the beam is broken, and the door won’t close.
1 Sign Your Sensors Need Alignment
The most obvious symptom is a garage door that goes down but immediately reverses back up. The door isn’t broken; it’s being safe.
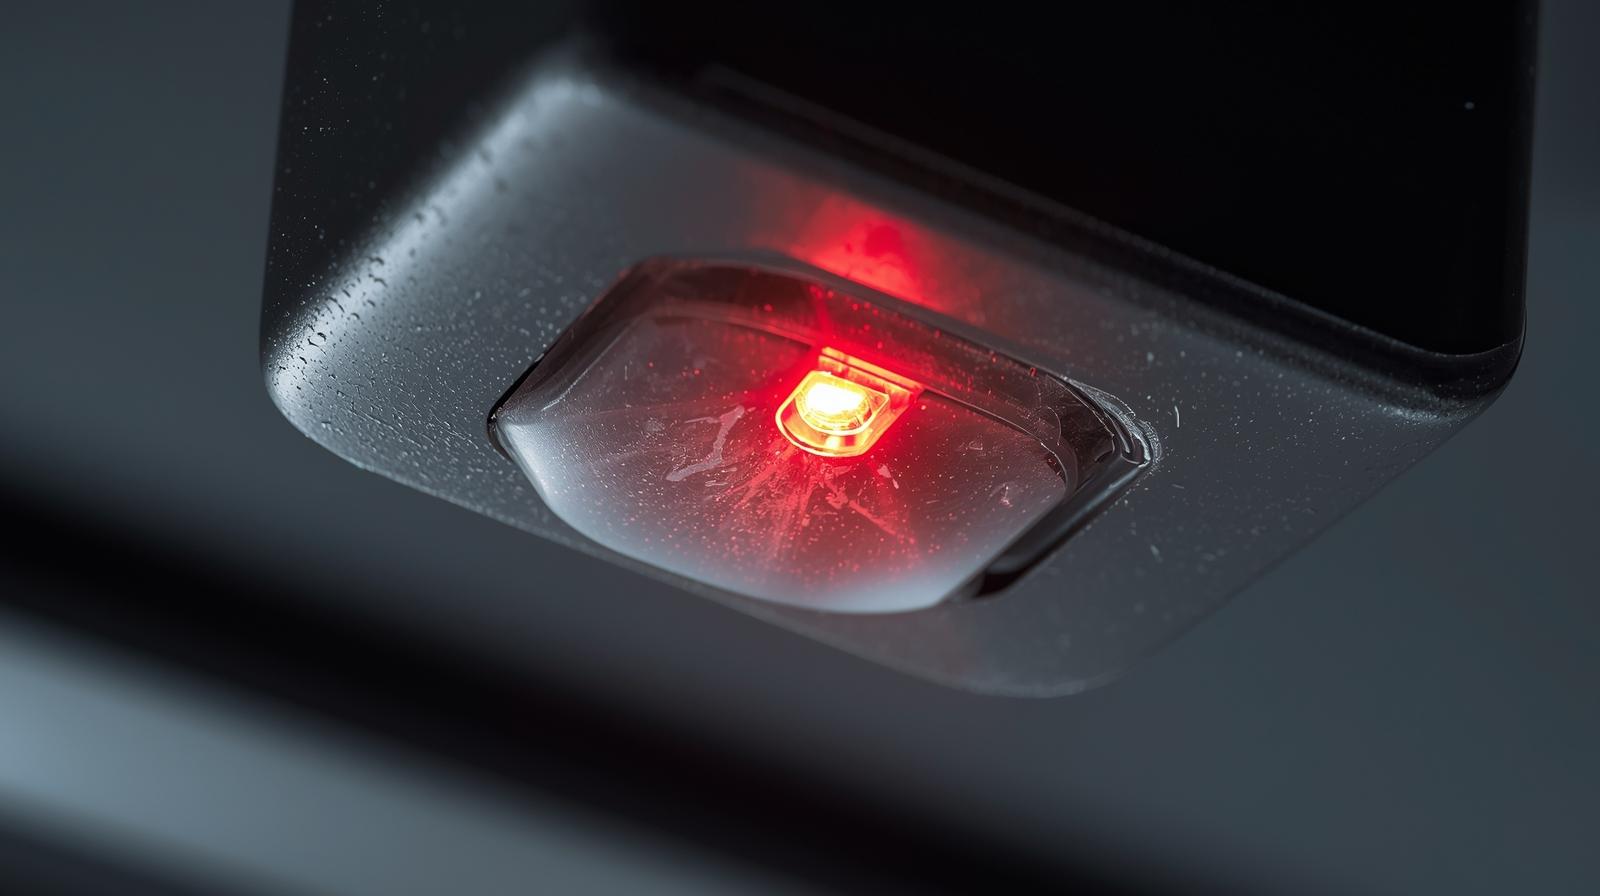
You might also notice that the indicator light on one or both sensors is blinking, instead of glowing with a steady green or amber light. A blinking light is the sensor’s way of crying for help.
What You’ll Need (The “Toolkit”)
The best part about this repair is that you likely already have everything you need.
-
A Soft Cloth: To clean the sensor lenses.
-
A Step Ladder (Optional): For easier access if your sensors are mounted high on the tracks.
-
Your Eyes and Hands: That’s it! No screwdrivers or wrenches are needed for the basic fix.
![]()
The Foolproof 5-Minute Guide to Align Garage Door Sensors
Follow these steps in order. You’ll likely fix the problem by step 3.
Step 1: The Visual Check (10 Seconds)
Look directly between the two sensors. Is there anything blocking the path? A cobweb, a pile of leaves, a stray basketball? Clear any and all obstructions. This is the most common fix.
Step 2: The Lens Clean (30 Seconds)
Gently wipe the small, plastic lenses on both sensors with your soft cloth. Dust, dirt, and grime can block the infrared beam. Think of it as cleaning a pair of glasses.
Step 3: The Light Test (The Key Step)
This is the most important part of learning how to align garage door sensors. Look at the LED lights on each sensor.
-
One sensor will have a steady green light (the “sending” unit).
-
The other will have a steady amber or red light (the “receiving” unit).
-
If the light on the receiving sensor is off or blinking, the sensors are misaligned.
Step 4: The Gentle Nudge (1 Minute)
If the light is blinking, gently loosen the wing nut or screw on the bracket of the sensor with the blinking light. You don’t need to remove it, just loosen it enough to move the sensor.
Slowly adjust the sensor until its LED light turns solid. You might hear a click from the opener unit when the connection is restored.
Step 5: The Final Test
Tighten the wing nut back up. Now, press the wall button to close the door. It should close smoothly without reversing. Congratulations, you did it!
[Image: A series of photos or an animated GIF showing the process from checking for obstructions to adjusting the sensor until the light goes solid.]
What to Do If the Lights Still Won’t Stay On
If you’ve followed all the steps and the light still won’t stay solid, there are a couple of other things to check.
-
Check the Wires: Gently trace the wires from each sensor back to the opener. Look for any cuts, chews (from pests), or loose connections.
-
Sunlight Interference: Direct, bright afternoon sun can sometimes overwhelm the infrared sensor. If the problem only happens at a certain time of day, this could be the cause. A small shade over the sensor can help.
When to Call a Professional
It’s rare, but sometimes the problem is more than alignment.
Call a professional if:
-
The sensor housing is cracked or damaged.
-
You see damaged wires.
-
The lights won’t turn on at all, even after checking connections.
-
You’re just not comfortable doing it yourself.
The 2025 Tech Twist: Smart Sensor Alerts
Newer garage door openers in 2025 are getting even smarter. Many Wi-Fi-enabled models can now send a specific alert to your phone, such as “Sensor Obstruction Detected.”
This takes the guesswork out entirely, telling you exactly what the problem is before you even go into the garage to look.
Conclusion
Knowing how to align garage door sensors is an essential piece of home maintenance knowledge. It’s a quick, safe, and free fix that can save you from unnecessary stress and an expensive service call. Remember the key: clear the path, clean the lenses, and adjust until the light is solid.
You have the power to solve this common problem yourself. Now you can enjoy the peace of mind that comes with a fully functional and safe garage door.
Save a friend the hassle and expense! Share this simple guide with them today.
Frequently Asked Questions (FAQs)
Q1: Why do my garage door sensors need alignment so often?
Frequent misalignment can be caused by vibrations from the door opening and closing, accidental bumps, or changes in temperature that cause the metal tracks to expand and contract. Knowing how to align garage door sensors is a handy skill for these minor shifts.
Q2: Is it safe to temporarily bypass the sensors to close my door?
It is not safe to bypass the sensors, as they are a critical safety feature. The proper way to close the door if the sensors are faulty is to use the manual release cord to disconnect the opener and close the door by hand, then lock it. Learning how to align garage door sensors is the better solution.
Q3: Can I use a laser level to help me align garage door sensors?
While you can, it’s usually unnecessary. The sensor’s own LED light is the most accurate guide. The goal is to get the light solid, which is the only alignment that matters when you learn how to align garage door sensors.
Q4: What does it mean if both sensor lights are off?
If both lights are off, the sensors are likely not receiving power. Check to ensure the garage door opener is plugged in and that a circuit breaker hasn’t tripped. This is a different issue than needing to know how to align garage door sensors.
Q5: Will cleaning the sensors really fix the problem?
Yes, absolutely. Dust, pollen, and spider webs can diffuse or block the infrared beam. Cleaning the small plastic lenses is a very effective first step in the process of how to align garage door sensors and fixes the issue more often than you’d think.

hello friends
my name is Sumit kumar. I am the owner of this website and I share only garage door and lift master information and only informational posts on my website. And I have written this post myself and have given you only a good guide and information.