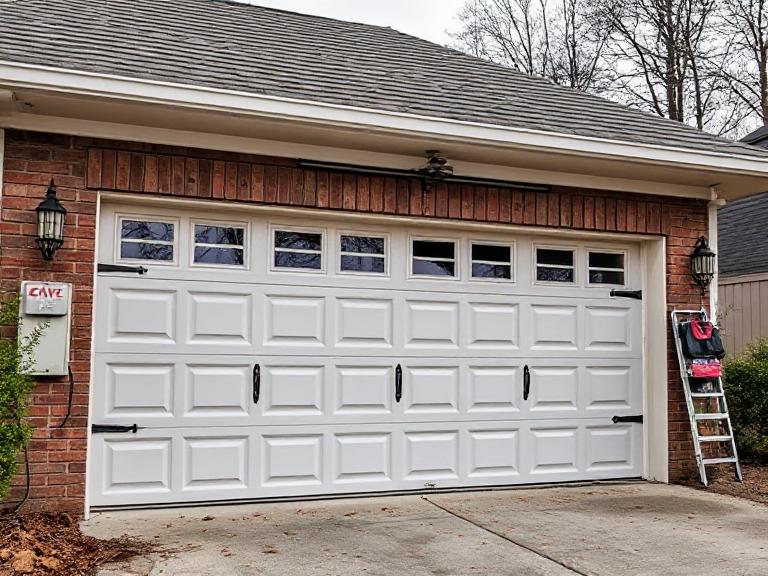
The short and exciting answer is Can Garage Doors Be Painted a resounding yes, garage doors can absolutely be painted! In fact, a fresh coat of paint is one of the most cost-effective and transformative home improvement projects you can undertake.
Table of Contents
ToggleIt’s not just about aesthetics; a high-quality paint job protects your door from the elements, fights off rust and rot, and can significantly boost your home’s curb appeal and value. Whether your current door is looking faded, scratched, or just outdated, this complete guide will walk you through every single step, from choosing the right paint to applying the final coat like a professional. By the end of this article, you’ll have all the knowledge and confidence you need to tackle this project successfully.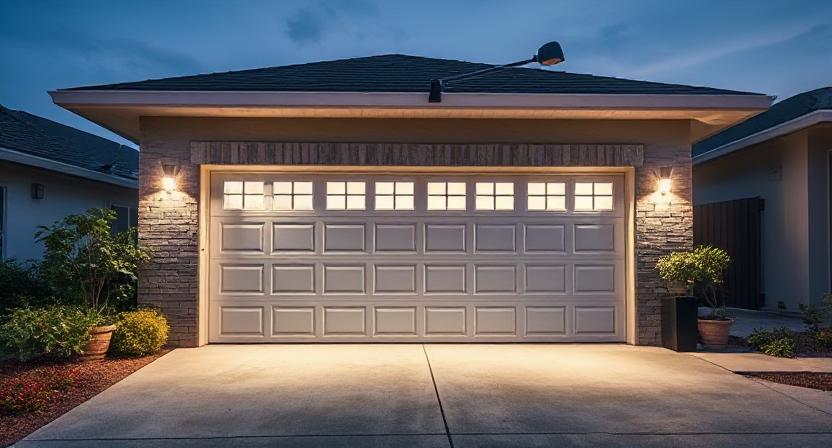
Why Painting Your Garage Door is a Brilliant Idea
Before we dive into the “how,” let’s talk about the “why.” Understanding the benefits will motivate you to see this project through and do it right.
Can Garage Doors Be Painted? Your Ultimate Guide to a Flawless Finish
-
Massive Curb Appeal Boost: Your garage door is one of the largest visible elements of your home’s façade. A fresh, modern color can completely change the look of your house, making it look newer, cleaner, and more inviting.
-
Increased Home Value: Real estate experts consistently note that enhancing curb appeal is a top ROI project. A well-maintained and attractive garage door is a key selling point.
-
Superior Protection: Paint acts as a shield. It protects your door from sun damage (UV rays that cause fading), moisture (rain, snow, and humidity that cause warping and rust), and everyday dirt and grime.
-
Cost-Effective Makeover: Compared to the thousands of dollars required for a brand-new garage door installation, a painting project costs a few hundred dollars at most for materials, saving you a significant amount of money.
Pre-Painting Checklist: What You Need to Know Before You Start
Not all garage doors are created equal. The material of your door and its current condition are the two most critical factors that will determine your preparation process.
Identifying Your Garage Door Material
The first step is to figure out what your door is made of. The most common materials are:
-
Steel: The most popular type. It’s durable and takes paint very well. However, it can be prone to dents and rust if not properly maintained.
-
Aluminum: Lightweight and rust-proof, but can dent easily. Often has a baked-on factory finish that requires specific preparation.
-
Wood: Offers a classic, high-end look. Wood doors require more maintenance as they can warp, crack, and rot if not sealed and painted correctly.
-
Fiberglass/Vinyl: Low maintenance and resistant to dents and rust. However, these non-porous materials require special primers and paints designed to adhere to them.
Assessing the Condition of Your Door
Can you paint over old paint? Usually, yes—but with caveats.
-
New, Unpainted Doors: These are a blank canvas but often have a protective oil or wax coating from the factory that must be thoroughly cleaned off.
-
Previously Painted Doors in Good Condition: If the existing paint is not chipping or peeling, you can often paint over it after a proper cleaning and light sanding.
-
Doors with Peeling, Chipping, or Flaking Paint: This old paint must be removed. Painting over it will only cause the new coat to fail quickly. You’ll need to scrape, sand, or use a chemical stripper.
-
Rusty Steel Doors: All rust must be completely removed using a wire brush, sandpaper, or a chemical rust converter before priming and painting.
Gathering Your Arsenal: Tools and Materials Checklist
Don’t start until you have everything you need. A rushed trip to the hardware store in the middle of the project can ruin your wet paint. Here’s your shopping list:
-
Paint: Use 100% acrylic latex exterior paint. It’s flexible, durable, and withstands weather fluctuations beautifully. For metal doors, ensure it’s formulated for metal surfaces. A satin or semi-gloss sheen is ideal as it’s easy to clean and hides imperfections well.
-
Primer: This is non-negotiable. Primer ensures adhesion, blocks stains, and provides a uniform base for your topcoat. Use a high-quality bonding primer for slick surfaces like metal or vinyl. For bare wood, use an exterior wood primer. For rusted metal, use a rust-inhibiting primer.
-
Cleaning Supplies: Trisodium phosphate (TSP) substitute or a strong degreasing detergent, a bucket, a stiff-bristle brush, and a garden hose with a spray nozzle.
-
Preparation Tools: Drop cloths, painter’s tape, sandpaper (120-grit and 220-grit), a sanding block or orbital sander, a putty knife, and wood filler (for dents or holes in wood doors).
-
Application Tools:
-
Sprayer (Recommended): An airless sprayer provides the smoothest, most professional finish with no brush marks. It’s faster but requires more setup and masking.
-
Roller and Brush: Use a high-density foam roller for a smooth finish and a synthetic bristle brush (2-3 inches) for cutting in edges and details. A roller with a smaller nap (1/4″) is best for smooth surfaces.
-
-
Safety Gear: Safety glasses, a dust mask (for sanding), and nitrile gloves.
The Step-by-Step Guide to Painting Your Garage Door
This is where the magic happens. Follow these steps meticulously for a result that will last for years.

Step 1: Preparation is 90% of the Job
-
Disconnect and Secure: Disconnect the garage door opener by pulling the release handle/rope. This allows you to move the door manually and prevents an accidental activation that could cause injury or damage.
-
Clean Meticulously: This is the most important step for adhesion. Mix TSP substitute with water according to the package directions. Scrub the entire door surface vigorously with your stiff brush, paying extra attention to areas with dirt, grime, and cobwebs. Rinse thoroughly with a hose and let the door dry completely (at least 24 hours).
-
Mask and Protect: Use painter’s tape to mask off any windows, weatherstripping, and hardware you don’t want to paint. Lay drop cloths on the ground to protect your driveway and anything else nearby from paint overspray or drips.
-
Repair and Sand: Fill any dents or holes with appropriate filler. Once dry, sand the entire door. Start with 120-grit sandpaper to remove any glossy finish and smooth rough areas, then switch to 220-grit for a final smooth pass. The goal is to create a slightly rough surface (a “tooth”) for the primer to grip onto. Wipe away all dust with a damp cloth or tack cloth.
Step 2: Applying the Primer
-
Choose Your Day: Work on a day with mild temperatures (50-85°F / 10-29°C), low humidity, and no rain in the forecast for at least 24-48 hours.
-
Apply Primer: Stir your primer well. Apply a thin, even coat to the entire door. If using a brush and roller, “cut in” the edges with a brush first, then use the roller for the large, flat panels. Ensure you get into all the grooves and details. Let the primer dry completely according to the manufacturer’s instructions—do not rush this.
Step 3: The Main Event: Applying the Paint
-
Stir, Don’t Shake: Stir your paint thoroughly. If you shook the can, let it sit for a while to allow any bubbles to dissipate.
-
Application Technique:
-
If Spraying: Hold the sprayer nozzle 8-12 inches from the surface and use steady, overlapping strokes. Apply multiple light coats instead of one heavy coat to prevent runs and drips.
-
If Brushing/Rolling: Again, cut in the edges first with your brush. Then, use your foam roller to apply the paint in thin, even coats. Maintain a “wet edge” to avoid lap marks—don’t let a section of paint dry before you roll back into it.
-
-
Multiple Coats: One coat is rarely enough. Most projects will require two thin coats of paint for full, uniform coverage and durability. Allow the first coat to dry completely (refer to the paint can for recoat time) before applying the second.
Step 4: The Final Touch: Cleanup and Reassembly
-
Careful Removal: Once the final coat is dry to the touch (but not fully cured), carefully remove all painter’s tape at a 45-degree angle to avoid peeling any fresh paint.
-
Curing Time: Be patient! Paint may feel dry in a few hours, but it takes about 30 days to fully cure and harden. Avoid touching it or washing it during this time.
-
Reconnect: Once the paint is completely dry (at least 24-48 hours), carefully reconnect your garage door opener and test the door’s operation.
Pro Tips and Tricks for a flawless Finish
-
Work Section by Section: If you can’t paint the entire door at once because you need to use your garage, lower the door and paint one section at a time. Make sure to blend the edges while the paint is still wet.
-
Mind the Temperature: Never paint in direct, hot sunlight. The heat can cause the paint to dry too quickly, leading to blisters and poor adhesion.
-
Light Colors vs. Dark Colors: Light colors reflect heat and are less likely to fade. Dark colors absorb heat and can cause warping on certain materials like steel and vinyl—check your door manufacturer’s recommendations first.
Frequently Asked Questions (FAQ)
How long does it take to paint a garage door?
The entire process, from cleaning to the final coat, typically takes a weekend. This includes crucial drying time between steps.
How much does it cost to paint a garage door?
If you do it yourself, you can expect to spend between $100 and $300 on high-quality primer, paint, and supplies.
Can I paint a vinyl garage door?
Yes, but you must use a primer and paint specifically formulated for vinyl. Lighter colors are strongly recommended to prevent heat absorption and warping.
Do I need to sand my garage door before painting?
In almost all cases, yes. Sanding is essential for creating a surface that the new paint can mechanically grip onto. The only exception might be if you are using a specific “no-prep” bonding primer designed for glossy surfaces—always follow the product instructions.
Conclusion: Unleash Your Home’s Potential
So, can garage doors be painted? Absolutely. It’s a manageable DIY project that yields incredible results. By investing a little time in proper preparation and using the right materials, you can achieve a beautiful, professional-looking finish that will protect your investment and make your home the envy of the neighborhood. Don’t be intimidated—embrace the project. Your transformed garage door is waiting.

hello friends
my name is Sumit kumar. I am the owner of this website and I share only garage door and lift master information and only informational posts on my website. And I have written this post myself and have given you only a good guide and information.