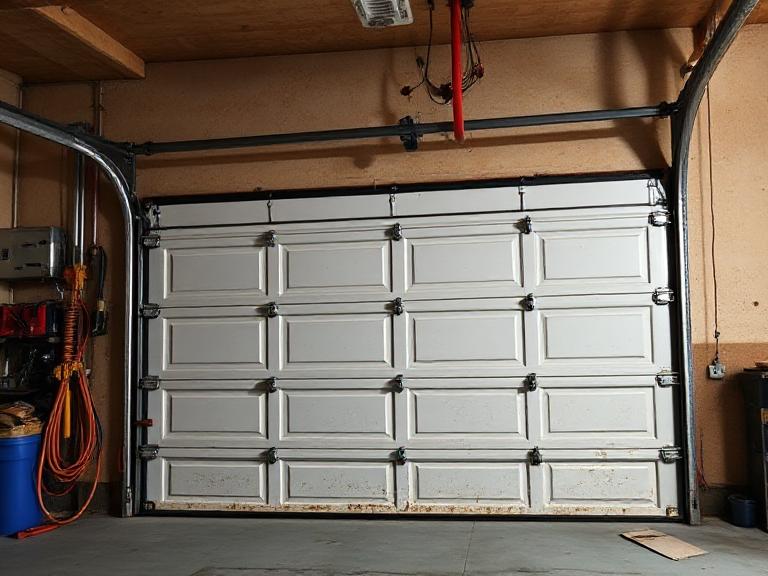
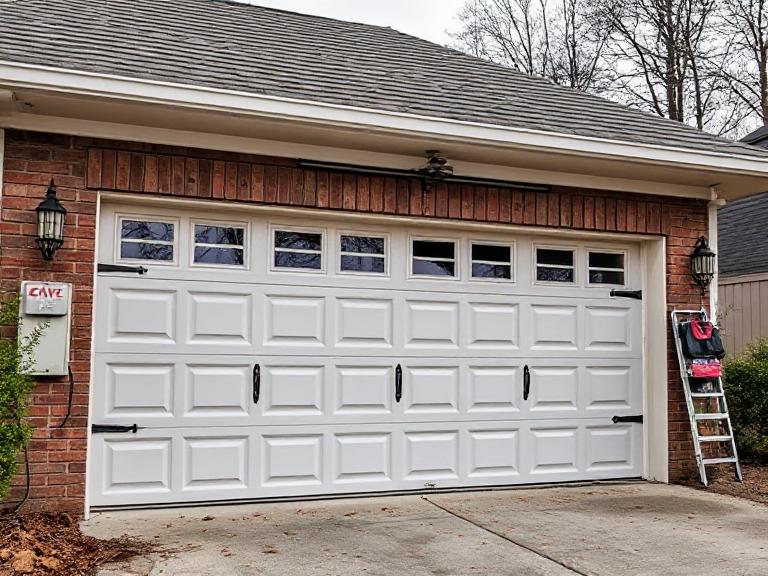
If you’re asking “can garage door sensors go bad?”, the answer is a definitive yes. These small but crucial safety devices, officially known as photoelectric sensors, can and do fail over time. Understanding why they fail, how to recognize the signs, and what to do about it is essential for every homeowner.
Table of Contents
ToggleGarage door sensors are your first line of defense against accidents and injuries. They prevent the door from closing on people, pets, or objects in the doorway. When they malfunction, they not only create frustration but also pose serious safety risks. This comprehensive guide will explore everything you need to know about garage door sensor failure, from common symptoms to step-by-step troubleshooting and replacement.
We’ll cover how sensors work, why they fail, and how to determine whether you need simple adjustments or complete replacement.

How Garage Door Sensors Work
Before exploring “can garage door sensors go bad?”, it’s important to understand their function. These safety devices use infrared beam technology to protect against accidents.
Basic Operation:
-
Two sensors: One sending unit, one receiving unit
-
Infrared beam: Invisible light beam between sensors
-
Continuous communication: Constant “handshake” between units
-
Safety shutdown: Door reverses if beam is interrupted
Required Safety Feature:
-
Federal law requires sensors on all garage doors since 1993
-
Must reverse door upon detecting obstruction
-
Regular testing is recommended
-
Proper alignment is crucial for operation
Common Signs of Failing Sensors
So, can garage door sensors go bad? Absolutely. Here are the most common signs that your sensors are failing:
Visual Indicators:
-
No lights: Neither sensor shows indicator lights
-
Solid lights: One or both sensors show solid lights instead of blinking
-
Different colors: Lights show unusual colors instead of standard green/amber
-
Physical damage: Cracks, dents, or visible wear on sensors
Operational Symptoms:
-
Door won’t close: Door reverses immediately when closing
-
Intermittent operation: Works sometimes but not others
-
No response: Door operates regardless of obstructions
-
Erratic behavior: Inconsistent opening/closing patterns
Performance Issues:
-
Slow response: Delay in detecting obstructions
-
False triggers: Door reverses without actual obstructions
-
Inconsistent operation: Works better at certain times of day
-
Weather-dependent issues: Performance changes with weather conditions
Why Sensors Fail: Common Causes
Understanding why sensors fail helps answer “can garage door sensors go bad?” and how to prevent it.
Environmental Factors:
-
Moisture damage: Water infiltration from rain or humidity
-
Temperature extremes: Heat or cold affecting electronics
-
Dirt and debris: Dust buildup blocking sensor eyes
-
Sunlight interference: Direct sunlight overwhelming sensors
Physical Damage:
-
Impact damage: Hit by vehicles, equipment, or debris
-
Vibration damage: Loosening from door operation
-
Wire damage: Chewed by pests or damaged during maintenance
-
Mounting issues: Loose brackets causing misalignment
Electrical Problems:
-
Power surges: Electrical spikes damaging components
-
Wiring issues: Loose, corroded, or damaged connections
-
Transformer problems: Faulty power supply to sensors
-
Circuit board issues: Problems with the main opener board
Age and Wear:
-
Component failure: Natural degradation over time
-
LED failure: Light sources burning out
-
Plastic deterioration: Housing becoming brittle with age
-
Connection corrosion: Terminal corrosion over years
Step-by-Step Troubleshooting Guide
If you suspect sensor failure, follow these steps before considering replacement.
Basic Safety Check:
-
Ensure nothing is blocking sensor beams
-
Check for obvious physical damage
-
Verify power is reaching opener unit
-
Ensure garage door is properly balanced
Visual Inspection:
-
Check indicator lights: Should be solid (usually green/amber)
-
Examine sensor alignment: Must be precisely aligned
-
Inspect wiring: Look for damage or disconnections
-
Check brackets: Ensure sensors are firmly mounted
Cleaning Procedure:
-
Use soft, clean cloth to wipe sensor lenses
-
Gently remove any dirt or debris
-
Avoid abrasive cleaners or chemicals
-
Ensure no spider webs or insect nests
Alignment Check:
-
Sensors must point directly at each other
-
No more than 1/4 inch misalignment allowed
-
Use level to ensure proper alignment
-
Check both horizontal and vertical alignment
Electrical Testing:
-
Test voltage at sensor connections
-
Check wiring continuity with multimeter
-
Verify proper grounding
-
Test outlet power supply
When to Repair vs. Replace
Understanding “can garage door sensors go bad” includes knowing when replacement is necessary.
Repair Possible:
-
Minor misalignment issues
-
Dirty lenses needing cleaning
-
Loose wiring connections
-
Temporary weather-related issues
Replacement Needed:
-
Physical damage to sensors
-
No power to sensors after testing
-
Persistent failure after troubleshooting
-
Age-related component failure
-
Water damage inside sensors
Professional Help Recommended:
-
Electrical issues beyond basic testing
-
Repeated sensor failures
-
Safety concerns about proper operation
-
Warranty coverage considerations
DIY Sensor Replacement Guide
If you’ve determined sensors need replacement, follow these steps.
Safety First:
-
Disconnect power to garage door opener
-
Work during daylight hours for good visibility
-
Use proper safety equipment
-
Keep area clear of obstructions
Replacement Steps:
-
Purchase correct sensors: Match model number to opener
-
Remove old sensors: Disconnect wires and unmount
-
Install new sensors: Mount at same height as originals
-
Connect wiring: Match color-coded wires carefully
-
Test alignment: Use level for precise positioning
-
Restore power: Reconnect opener power source
-
Test operation: Verify proper function
Calibration Process:
-
Allow sensors to initialize (usually 30 seconds)
-
Test door closure with obstruction
-
Verify immediate reversal when beam broken
-
Test multiple times to ensure consistency
Preventative Maintenance Tips
Regular maintenance can prevent many sensor problems and extend their lifespan.
Monthly Maintenance:
-
Wipe sensor lenses clean
-
Check indicator light status
-
Test safety reversal function
-
Verify proper alignment
Seasonal Maintenance:
-
Thorough cleaning of sensors and area
-
Check wiring for damage or wear
-
Verify mounting bracket security
-
Test during different weather conditions
Annual Professional Maintenance:
-
Complete system inspection
-
Electrical connection testing
-
Alignment verification
-
Safety feature testing
Cost Considerations
Understanding costs is part of addressing “can garage door sensors go bad“.
Sensor Replacement Costs:
-
DIY sensor purchase: $20-$50 per pair
-
Professional replacement: $100-$200 including labor
-
Complete system check: $75-$150 as part of service call
Factors Affecting Cost:
-
Sensor type and compatibility
-
Labor rates in your area
-
Emergency service fees
-
Additional repairs needed
-
Warranty coverage
Safety Implications of Bad Sensors
Failing sensors pose serious safety risks that go beyond inconvenience.
Immediate Risks:
-
Door closing on people or pets
-
Property damage from falling door
-
Vehicle damage from unexpected closure
-
Entrapment risks for children
Long-Term Concerns:
-
Reduced safety compliance
-
Potential liability issues
-
Insurance coverage questions
-
Resale value impacts
Legal Requirements:
-
Federal safety standards require functioning sensors
-
Local building codes may mandate specific features
-
Home insurance may require proper safety features
-
Warranty validation may require functional sensors
When to Call a Professional
While many sensor issues are DIY-friendly, some situations require professional help.
Call a Professional If:
-
Electrical issues are suspected
-
Multiple components are failing
-
Safety is a concern
-
Warranty coverage is important
-
DIY attempts have failed
Benefits of Professional Service:
-
Proper diagnosis of underlying issues
-
Correct installation and calibration
-
Warranty protection on parts and labor
-
Safety verification and testing
-
Peace of mind
Frequently Asked Questions
How long should sensors last?
Most sensors last 5-10 years with proper maintenance.
Can I bypass faulty sensors?
Never bypass sensors – it creates serious safety hazards and may violate laws.
Why do my sensors work sometimes but not others?
This usually indicates alignment issues, wiring problems, or environmental factors.
Are expensive sensors better?
Quality matters, but compatibility with your opener is most important.
Conclusion: Prioritizing Sensor Safety
So, can garage door sensors go bad? Absolutely yes. These critical safety devices can fail due to age, damage, environmental factors, or electrical issues. Regular maintenance, prompt troubleshooting, and timely replacement are essential for maintaining a safe garage door system.
Remember these key points:
-
Test your sensors monthly
-
Clean lenses regularly
-
Address problems immediately
-
Never operate a door with faulty sensors
-
When in doubt, call a professional
Your garage door sensors are too important to ignore. By staying proactive about maintenance and addressing issues promptly, you’ll ensure your garage door remains safe, reliable, and functional for years to come.
If you suspect your sensors are failing, don’t delay addressing the issue. Your safety and peace of mind are worth the investment in proper repair or replacement.

hello friends
my name is Sumit kumar. I am the owner of this website and I share only garage door and lift master information and only informational posts on my website. And I have written this post myself and have given you only a good guide and information.


1 thought on “Can Garage Door Sensors Go Bad? The Complete Troubleshooting Guide”